
This document will guide you, step by step through the process of encoder adjustment on the Park Industries APEX.
Remove spindle tool plug from spindle
Remove Gripper Set
Support rear of spindle (blocking or Hydraulic Bottle Jack).

Power down APEX and isolate power and air sources to the machine
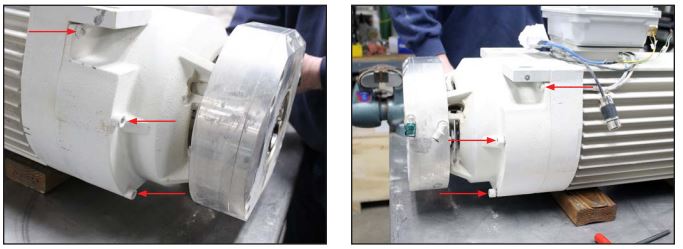
Remove rear two spindle mounting bolts

Remove water union Remove plastic water lines from water union Using a 5mm hex wrench, remove 4 bolts Remove water union

Remove fan cover (6 bolts, 6mm & 8mm hex wrenches)
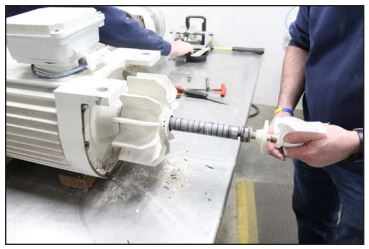
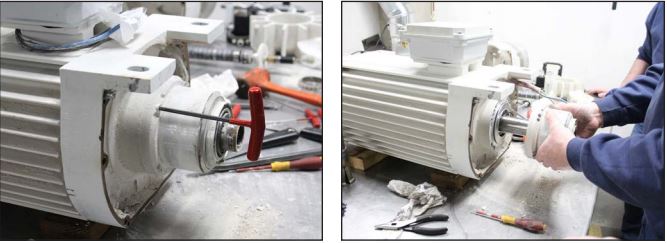
Remove Drawbar Assembly
remove collar (3 setscrews, 2.5mm hex wrench)
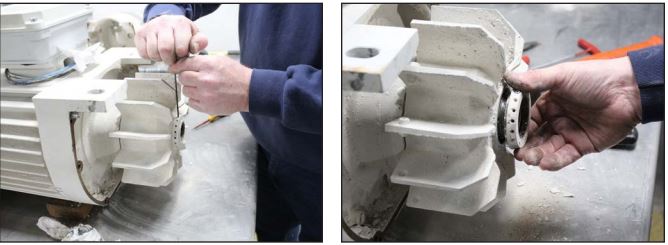
Remove Motor Fan (6 bolts, 2mm hex wrench)
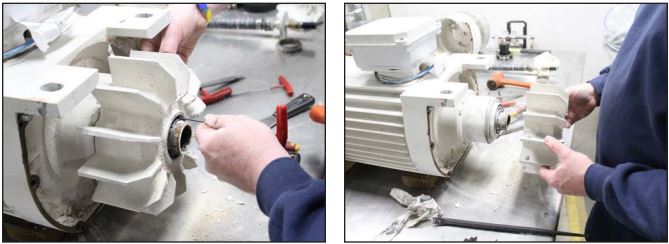
Remove fan motor (4 bolts, 5mm hex wrench)
Remove encoder cover (4 bolts, 5mm) you’ll need to feed the cable through the connector while removing the encoder cover

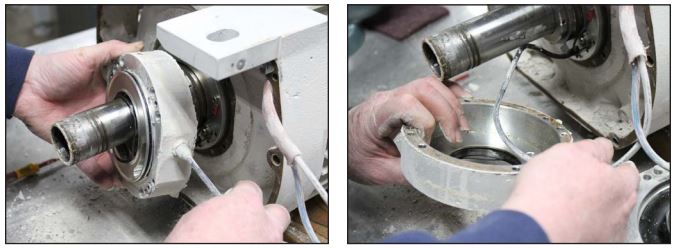
Check encoder target wheel and flag for damage

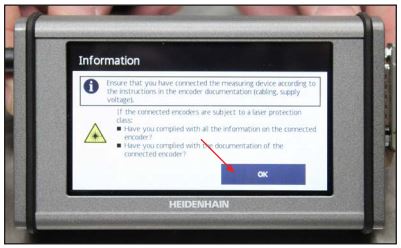
Connect reader to cable then plug in the power cable for the encoder reader

After encoder reader boots up press OK
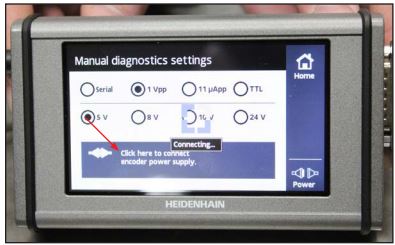
Press settings

Press 1 Vpp and 5V (as shown)
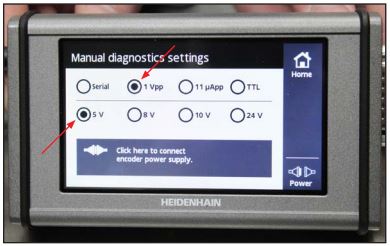
Click here to connect encoder power supply
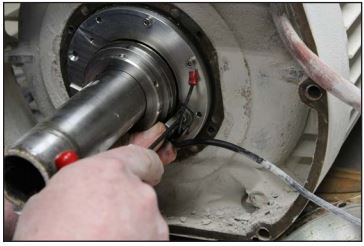
Using a 3mm hex wrench loosen the mounting bolts for the proximity
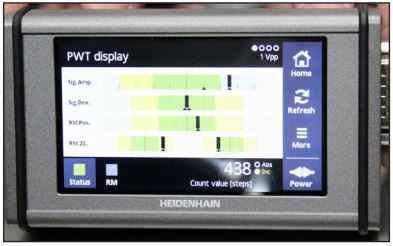
Adjust proximity sensor so that while rotating the arbor the reading is centered in the top graph (Sig.Amp).

Tighten Proximity sensor mounting bolts and recheck reading, repeat adjustment steps as necessary until reading is centered after securing the proximity. Reassemble the arbor